Evaluating an Agent
Evaluators are assigned interactions to evaluate by workflow queues. See Guidelines for Evaluating an Agent to learn more.
At any point while evaluating an agent, you can choose to send the agent coaching feedback. Just save the evaluation, and then the Coaching button appears. Click Coaching. After sending a coaching package to an agent, even if you cancel the evaluation, the coaching is still applicable. See Coaching to learn more.
The question, category and evaluation level notes will be displayed only if the template that was used is configured with appropriate view or edit notes access rights.
To evaluate an agent:
| 1. | On the Dashboard, click Assigned to Me. |
| 2. | Select the interactions to evaluate. |
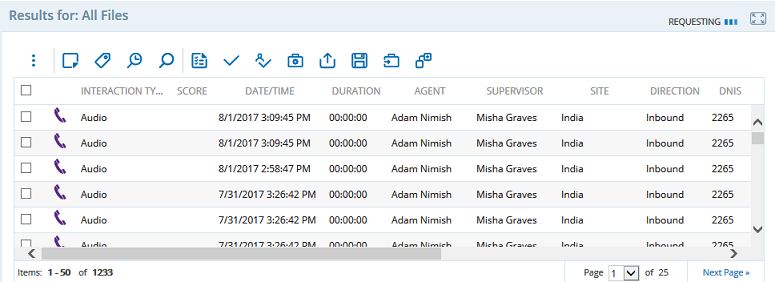
| 3. | To initiate an evaluation, click Launch Evaluation Form ( ). ). |
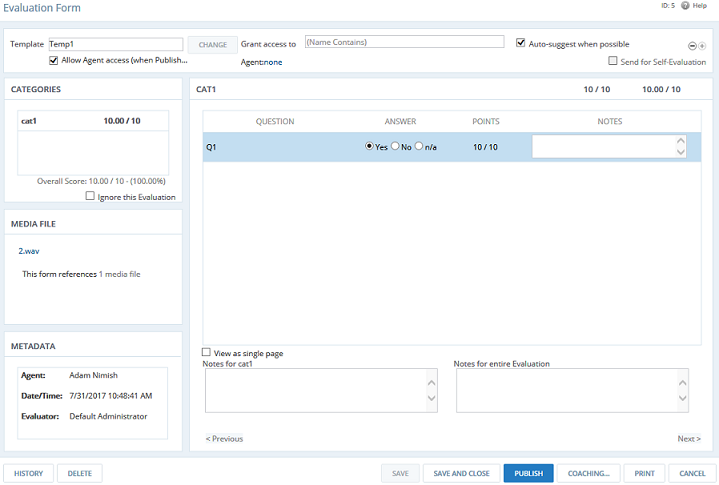
| 4. | (Optional) To select the template you want to use for the evaluation, click Change. If only one template resides in the system, it is automatically selected. If multiple templates reside in the system, the template you most recently used is selected by default. |
The template is loaded in the page. The primary media file name and a graphic representing the interaction type of the primary file are displayed in the Media File area (the valid interaction types are All, Audio, Chat, Email, and Text). Additionally, any available metadata configured for the selected template appears in the Metadata grid. The total number of files associated with the evaluation is also displayed. You can click on the <nbr> media files link to launch Search with each of the files associated with this evaluation displayed.
| 5. | You can view or listen to the interaction file associated with this evaluation as needed. If there are secondary media files associated with this evaluation, This form references <nbr> media files displays. You can click on the <nbr> media files link to launch Search and load each of the files (including the primary file) associated with this evaluation. See Playing Back Interactions to learn more. |
| 6. | Answer the questions for the selected category in the Category grid: |
If a hint has been provided for a question, a Hint link displays next to it.
Add notes as relevant. You may be required to create a note for certain responses you give. The maximum length is 2500 characters.
Enter points for questions, the score initially displays as Score: 0/0 unless the template has default answers.
The assigned point values for List, Multiselect List and Yes, No, N/A questions can be positive (+) or negative (-), as defined by the system administrator. When a negative point value (ie: -4) is assigned, it is reflected accurately everywhere except in report score averages. Any negative scores in reports are counted as zero.
Some answers may be configured to be automatically suggested for you based on results from analytics processing. Some of your answers may cause failure of the current category, or even the entire evaluation. You receive a warning message if this situation arises. When a question is answered in such a way that it triggers an auto-fail, the text of that question displays in red italic font in the evaluation form so that you can easily see which question(s) caused an auto-fail.
| 7. | (Optional) Create a note for the selected category in the Notes for <category name> box. You also can cut and paste content from a Hint (if available) or upload a file. |
| 9. | Complete Step 6, Step 7, and Step 8 for the remaining categories. |
| 10. | (Optional) Create a note for the entire evaluation in the Notes for entire Evaluation box. You can also cut and paste content from a Hint (if available) or upload a file. |
| 11. | (Optional) To associate an agent with the evaluation, select or deselect Allow Agent access (when Published). The system default value is true. |
If an agent is associated with an evaluation, a link for that agent is displayed to the right of the Allow Agent access (when Published) checkbox. The LastName, FirstName, and (Agent ID) are displayed. If no agent is associated, none is displayed. You can click on the [x] next to the Agent Name link to remove the association between this evaluation form and the agent. The Agent Name link is replaced with none. You can change the agent association by clicking on the hyperlink.
| 12. | The agent's supervisor is automatically associated with the evaluation based on the metadata of the interaction. If an interaction is not associated with the evaluation, no supervisor is assigned and the evaluation form is only visible to users who have permission to view all evaluation forms. |
If there are no interactions associated with an evaluation, select the agent's supervisor from the Grant access to field. In this case, the Grant access to field is populated with the name(s) of the agent's supervisor(s), as pulled from the agent inventory.
As you enter text, names that match what you have entered display below the text box for you to select from. The user that you grant access to must have access rights to the template that was used for the evaluation in order to view it. When you enter at least two characters, text results are returned for the Login Name, Last Name, or First Name. Combinations of these are not returned.
| 13. | (Optional) To send a self-evaluation request to the agent when you select Publish, Save, or Save & Close, select Send for Self-Evaluation. The agent associated with the evaluation sees the self-evaluation in the Agent Evaluations Portal grid. This checkbox is enabled when you are editing an evaluation. If you initially sent this evaluation for a self-evaluation, your only option is to deselect Send for Self-Evaluation if the agent has not yet begun the self-evaluation. |
Self-Evaluations IDs are prefaced with the letter S.
| 14. | (Optional) Select Allow interaction file playback to allow the agent to view or listen to the interaction. |
This checkbox does not display if playback in Evaluations Portal is configured to be off. If the associated configuration setting is configured as False, but playback in Evaluations Portal is configured to on, this checkbox is disabled and selected.
15. (Optional) If you click Save & Close before publish, the Time to Publish message displays.
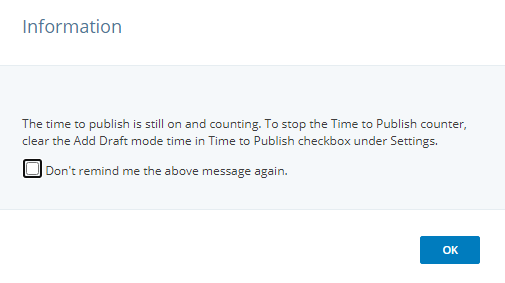
The evaluation time still gets counted and added to the ongoing Time to Publish counter till the evaluation is published. Clear the Add Draft mode time in Time to Publish checkbox under Settings to count only the edit mode time for an evaluation and not the saved draft mode time.
The Time to Publish message is displayed only when the Add Draft mode time in Time to Publish checkbox is selected. The change in the checkbox selection does not change the time to publish calculation method for the evaluations that are complete or are in progress.
16. Click Publish. Publish is enabled only after you have completed all of the required questions in the evaluation form.
The agent receives notification in their inbox to acknowledge the evaluation and an entry for the published evaluation form is added to the grid in the My Evaluations tab.